Updates (January 2026 to March 2026)
March 2026 — Updated the topic to add information about the dynamic match for the payload section in custom policy rule creation. For more information, see Understand Payload Match.
Custom Policies enable you to create rules for granular control over the Application and API protection strategy. You can configure them to protect your application and APIs based on the source of traffic, specific traffic patterns, whether the traffic carries sensitive data, or the rate at which the application and API are accessed. The custom policies are composed of rule types that define specific security conditions. While collectively referred to as custom policies, each rule type operates independently to address different security concerns.
Custom Policies
What will you learn in this topic?
By the end of this topic, you will be able to:
Understand why, when, and how to use Custom policies to enable granular, zero-trust control over API traffic.
Identify the different rule types available under Custom Policies and their specific security use cases.
Configure custom rules effectively, including defining intent, criteria, and enforcement conditions.
Understand how to block and allow priority work.
Understand how the allow action determines enforcement precedence and interacts with WAP and API Protection policies.
Understand payload match
Before you proceed to create rules for different custom policies or exclusion rules in protection, make sure you have a fair understanding of payload matching. Traceable supports two types of payload match when evaluating rule criteria:
Static Payload Match (default)
In the rule creation step, Traceable uses payload match to evaluate request and response data against defined rule criteria. In static payload matching, Traceable compares a selected request or response component against a fixed Value to determine whether a rule condition is met. If you do not enable the Dynamic toggle, it compares a static component against a static value. You must configure the following elements:
Element
Description
Component
The part of the Request or Response to evaluate, for example, Header.
Operator
The comparison logic used to evaluate the component against a specified value, for example, Matches exactly.
Value
The fixed value used for comparison, for example, /login.
In this example, the selected attribute, Request URL, matches the value /login.
.png)
Static Matching
Dynamic Payload Match
In the rule creation step, Traceable supports dynamic payload match for the Request, Response, or Attribute criteria field. Dynamic matching allows Traceable to compare two attributes rather than matching a component against a static value. Each side of the comparison can reference values from the request, response, or extracted attributes. The following table displays the different elements, their descriptions, and examples involved in payload match:
Element
Description
Example
First Component
The first attribute selected for comparison. You can choose a value from the Request, Response, or Attributes.
Request Header: Authorization
Operator
The comparison logic is used to evaluate the relationship between the two selected components.
Matches exactly
Second Component
The second attribute selected for comparison from the Request, Response, or Attributes. Traceable dynamically resolves both values during request processing.
Request Header: x-auth-token
Sample scenarios
The following sample use-cases show different options available, giving you the flexibility to compare different attributes dynamically:
Scenario 1 — Compares selected request header values to validate consistency
For certain components, Traceable supports value-to-value comparisons within the same request context. In these cases, Traceable first evaluates each component independently at a granular level and then dynamically compares the resolved values. For example, the header component takes Authorization and x-auth-token request header values and compares them for each incoming API request, as shown below:
 (1)(3).png)
Dynamic Match Request Header Matching Example
Scenario 2 — Compares two attributes from the request, response, or extracted attributes to evaluate whether their values match dynamically
For some components, you can compare the Request URL with the attribute component with the value to match a pattern. The screenshot below shows dynamic payload matching configured for the Request URL attribute. In this example, the rule evaluates the Request URL and matches it against the pattern /login to identify requests targeting the login endpoint. You can also compare the Request URL with the attribute component with the value to match a pattern, as shown below:
(1).png)
Dynamic Match Request Attribute Example
The following interactive demo walks you through the steps to dynamically match payloads in the criteria step of rule creation, if you select request, response, or attribute criteria in the payload:
Understand custom policies
Before you configure custom policies, review the following table to clearly understand their purpose, practical use cases, and implementation approach within your API protection strategy.
Why use it? | When to use? | How can you leverage it? |
|---|---|---|
Custom Policies enable you to implement a zero-trust application and API protection strategy by applying granular security controls tailored to your application behavior and risk model. They help detect and control suspicious traffic patterns, block high-risk sources, protect sensitive data, and prevent abuse such as automated attacks or excessive application and API usage. | You can use Custom Policies when default protections do not fully address your security requirements. They are useful when you need fine-grained control over application and API traffic, such as restricting access by IP address or region, detecting unusual request patterns, limiting request rates, preventing enumeration attempts, or controlling access to sensitive data. | Define the rule intent (Allow, Monitor, or Block), configure matching conditions, such as traffic source, request attributes, or payload data, and specify enforcement criteria. Once enabled, the policy evaluates incoming app and API traffic and applies the configured action when the rule conditions are met. |
Custom rule creation and rule types
The following table displays each rule type category and its description. Navigate to Protection → Settings → Policies → Custom Policies tab and click a particular tab to create the required rule:
Rule Type | Description |
|---|---|
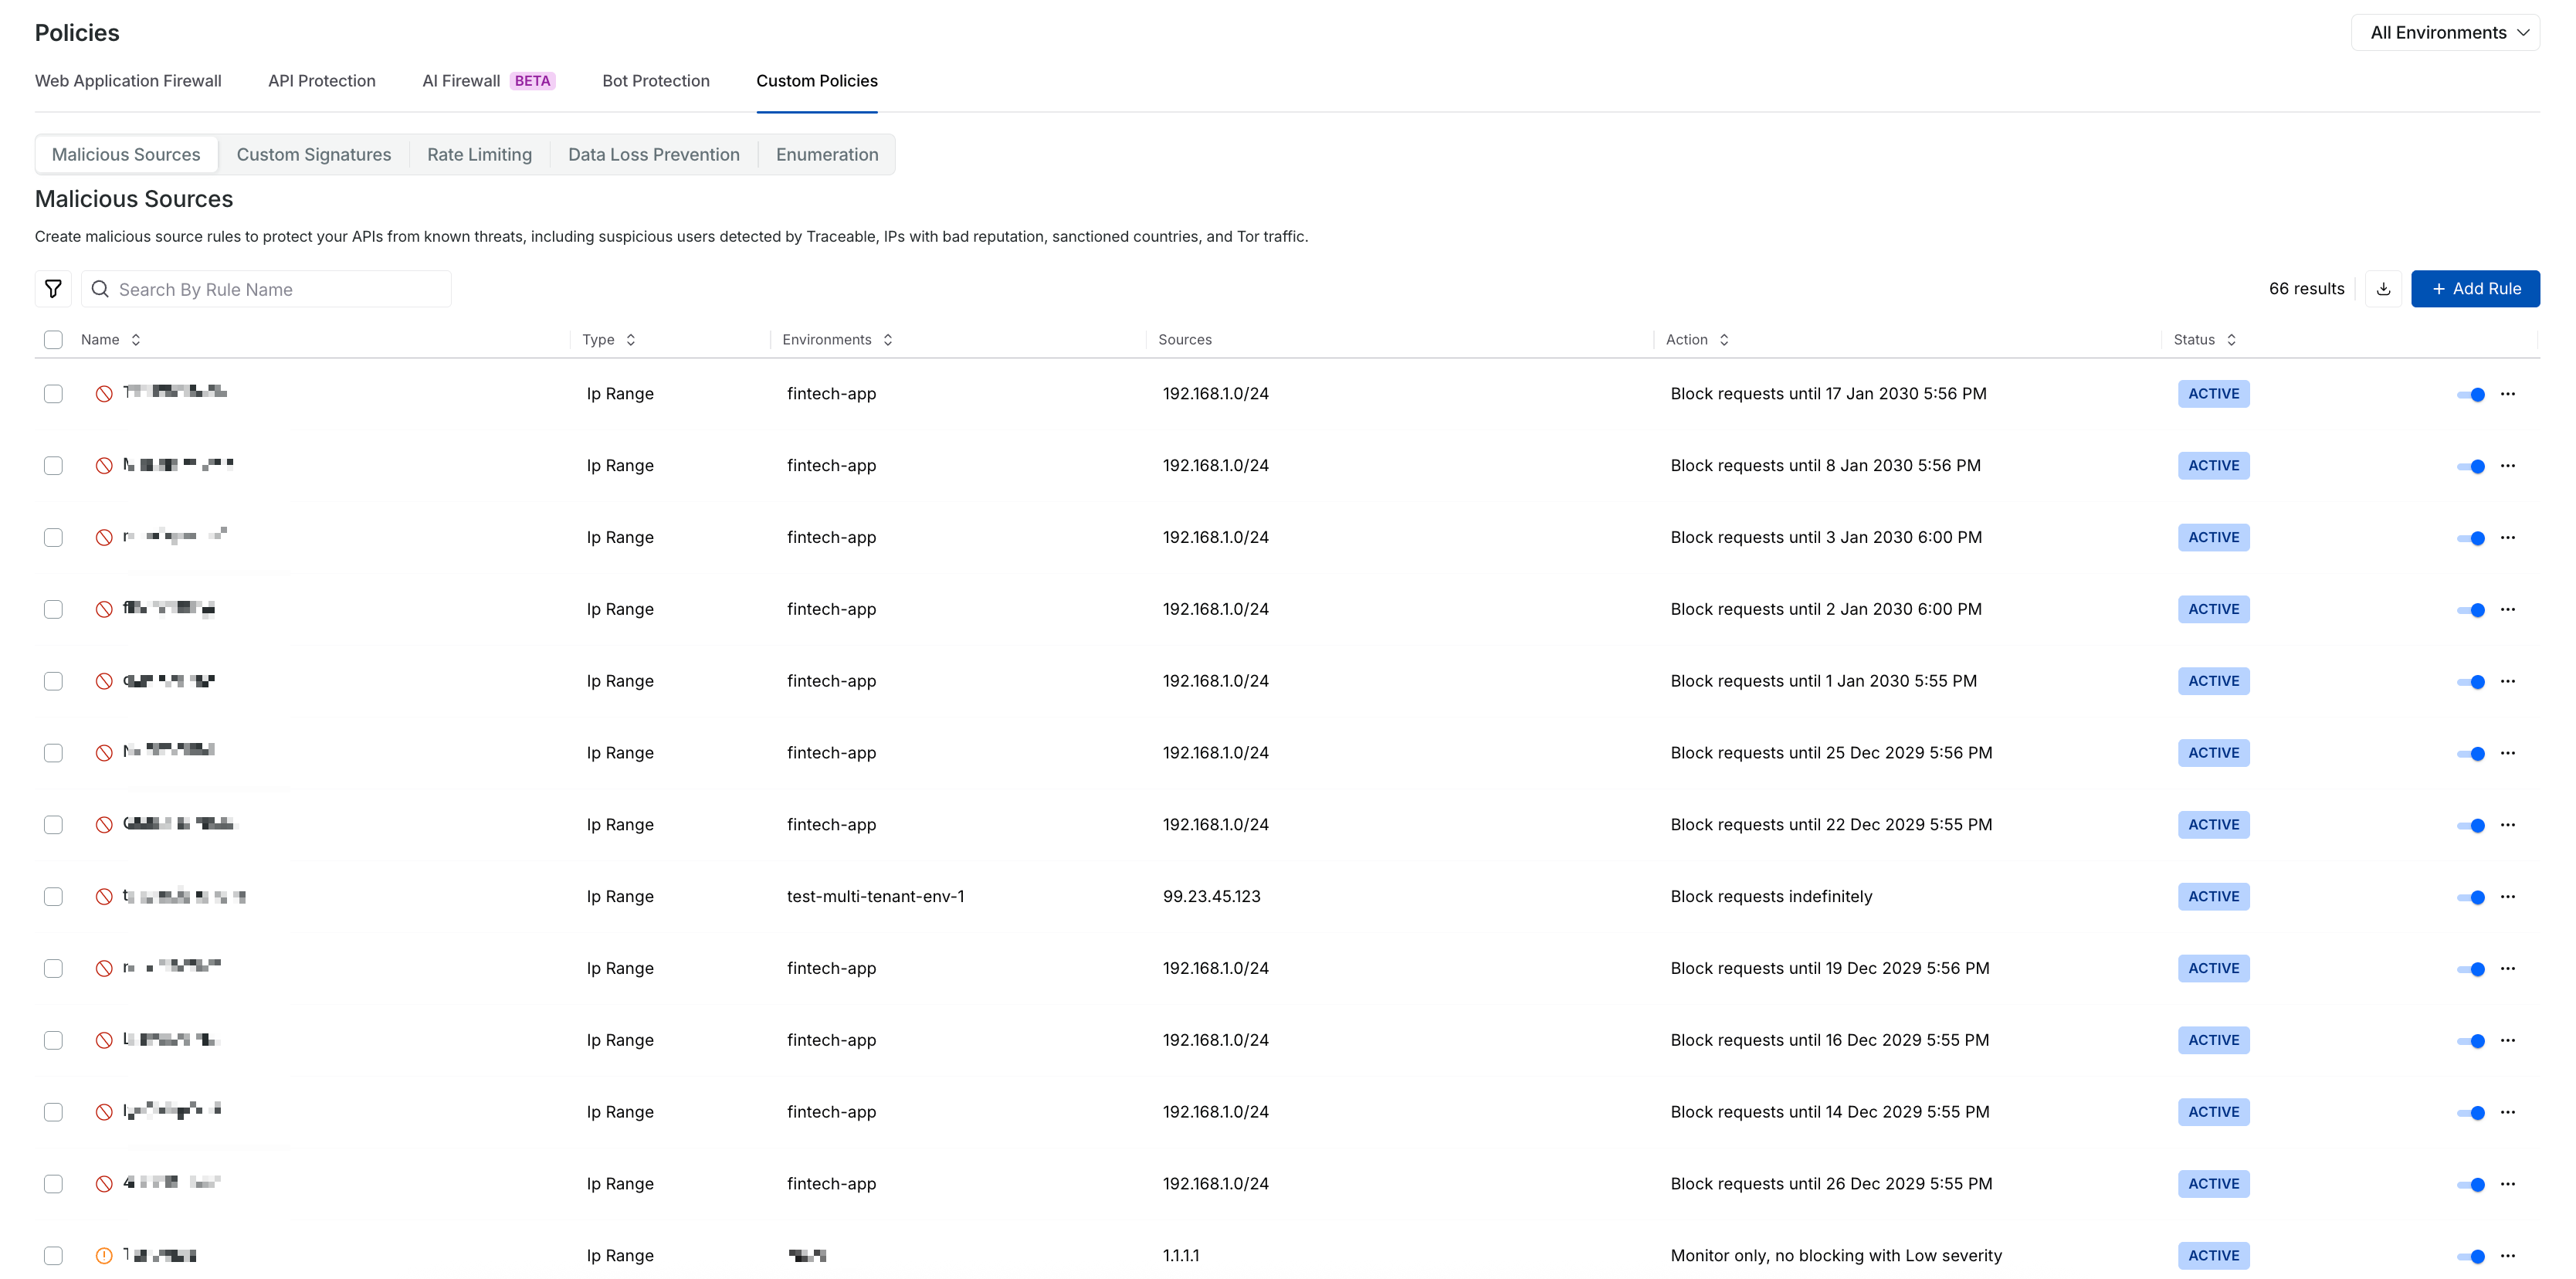
Controls traffic based on high-risk indicators such as suspicious IP addresses, regions, VPNs, bots, or other identified malicious entities. | |
Defines precise allow, monitor, or block rules by inspecting specific request or response components against user-configured patterns and conditions. | |
Restricts the number of application and API requests within a defined time window to prevent abuse, automated attacks, and excessive resource consumption. | |
Data Loss Prevention (DLP) | Enforces granular control over sensitive data access by defining who can access specific data types, under what conditions, and at what rate. Supports fine-grained configuration based on traffic source, IP address, IP type, user ID, region, attributes, and more. For the steps to create a DLP rule, see Data Protection. |
Detects and mitigates application and API Enumeration Attacks that use multiple unique values to perform Systematic Probing of endpoints, preventing data harvesting and unauthorized record discovery. |
Blocking or allowing priority
Traceable decides whether to block or allow user requests based on a defined priority. When you understand this priority, you can confidently configure policies with the right options and ensure your security rules behave exactly as intended. In Traceable, a threat actor can be blocked in either of the following ways:
Manually move it to deny or suspend
Rate-limiting rules
DLP rules
Enumeration rules
Malicious source rules
In the event of a conflict, the following order of blocking preference is applied in descending order. Allow rules have a higher priority than blocking rules:
Blocking or allowing priority | Description |
|---|---|
IP address(s) allow | Never block traffic from allowed IP address(s). |
Threat actor(s) allow | Never block traffic from any IP address(s) the threat actor uses. |
An email domain allows | Never block traffic for specific email domains. |
Custom signature rule request allows | Never block traffic if it matches a custom rule. |
Custom signature rule request blocking | Block an individual request if it matches a custom rule. |
Signature-based (safe-crs) request blocking | Block individual requests if they match a signature rule. |
All IP addresses are blocked except | Block all IP addresses except the listed IP address range. |
IP blocked | Block specific IP addresses or a range of IP addresses. |
Threat actor blocked | Block IP address(s) ever used by the particular threat actor. |
Email domain blocked | Block specific email domains. |
IP type blocked | Block IP addresses of a specific IP type. IP types could be:
|
Block all email domains except | Block all email domains except the ones listed. |
The region blocked all except | Block all regions except the ones listed. |
Region blocked | Block specific regions. |
Rate-limiting, DLP, and enumeration-based actor blocking | Block threat actors if rule conditions are met. |
Note
All external IP(s) are considered for blocking. By default, Traceable does not block internal IP(s). To enable blocking, you can contact support@traceable.ai for the required language or gateway agent-specific flags, based on the Traceable Agent (TA) or Traceable Platform Agent (TPA) you have installed.
Allow action behavior across custom policies
When a request matches a rule configured with the Allow action in a custom policy, Traceable permits the request and stops further evaluation within custom policies.
Effect of an allow match
Once an Allow condition is met:
Other custom policies do not block the request.
Any Block or Alert actions in other custom policies are skipped.
No additional alerts are generated within custom policies.
This behavior applies to all custom policy types that support the Allow action, including Malicious Sources and Custom Signatures.
Scope of the allow action
The Allow action applies only to custom policies. Policies configured under Protection → Settings → Policies → WAF and API Protection continue to inspect and act on traffic independently. To exempt traffic from WAF or API Protection detections, configure an appropriate rule on the Exclusion page.