Updates (April 2026 to June 2026)
June 2026 — Updated the page to add information about adding conditions based on API and SPAN attributes. For more information, see Policy configuration.
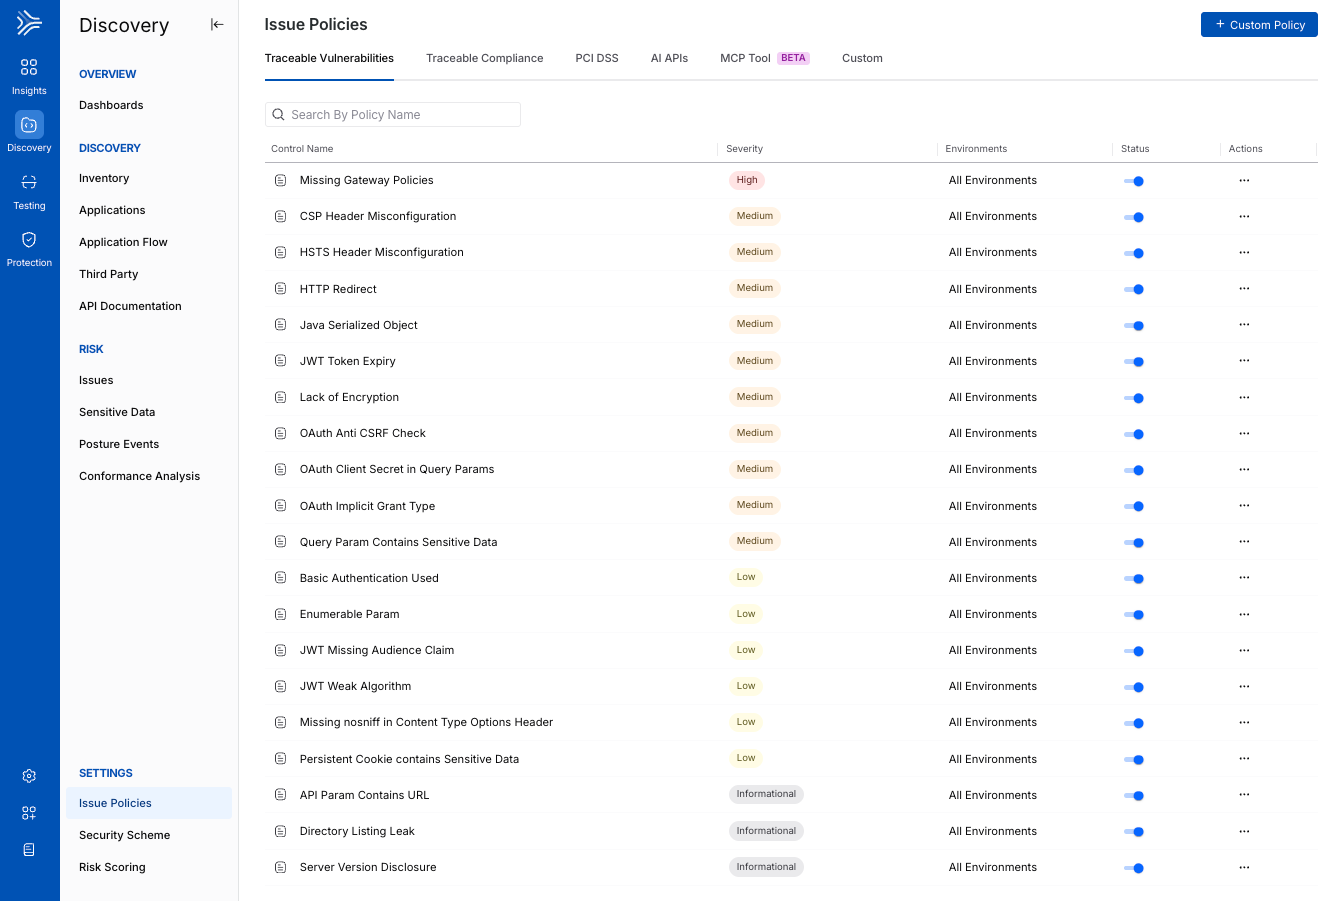
Issue Policies help you identify API endpoints that violate security policies. Traceable provides predefined policies for vulnerability, compliance, PCI DSS, AI APIs, and MCP tools that you can customize to make them relevant to your organization. You can also define custom policies to identify these violations based on various attributes, such as the environment where the API runs, its vulnerability type, data sensitivity, and so on. You can also enable or disable these policies according to your requirements.
Issue Policies
Policy categorization
The issue policies are separated into the following categories:
Category | Description |
|---|---|
Traceable Vulnerabilities | This category lists the OWASP API Top 10 and Traceable recommended policies for identifying vulnerabilities in Live Traffic across API endpoints. |
Traceable Compliance | This category lists Traceable's out-of-the-box compliance policies. These policies help identify some of the most common violations across API endpoints. |
PCI DSS | This category lists Traceable's policies for monitoring PCI DSS data across API endpoints. |
AI APIs | This category lists Traceable’s policies for monitoring AI endpoints in your application. |
MCP | This category lists Traceable’s policies for monitoring MCP assets in your application ecosystem. |
Custom | This category lists the policies you create using various attributes according to your requirements. |
For more information on the above policies, see Policy View and Policy Configuration.
Navigate the page
You can access the Issue Policies page through Discovery → Settings → Issue Policies.
List identified issues
While the Issue Policies page lists the policies, the identified violations are listed in Discovery → Issues. On the Issues page, you can view details about the violations and the API endpoints where they were identified. For more information on navigating these violations, see Issues.
Traceable also auto-resolves an issue by default, depending on the issue’s source. For more information, see Issues Resolution.
Note
The compliance policies only help in identifying violations across discovered API endpoints. Based on the details about these violations, you can also choose to create custom policies under API Protection. These policies help protect your APIs according to the settings you configure. For more information on how to create these policies, see Custom Policy.
Policy view
Traceable shows the following information for each category mentioned above:
Policy View
Column | Description |
|---|---|
Control Name | The policy name, for example, API Param Contains URL. Traceable uses this policy name as the Issue Name on the Issues page. |
Severity | The severity of the issue detected as part of this policy. For example, the issue having the name API Param Contains URL will have Medium severity. |
Environments | The environment(s) in which the policy is applicable. By default, a policy applies to All Environments; however, you can edit this according to your requirements. For more information, see the Policy Configuration section below. |
Status | The policy's status: enabled or disabled. While the policies are enabled (Traceable recommended) by default, you can click the toggle for a row to disable them according to your requirements. |
Actions | The functions you can perform on the policies. You can Edit the policy configuration and Clone the policy (for Custom policies only) according to your requirements. For more information, see the Policy Configuration section below. |
Policy configuration
This section discusses both out-of-the-box and custom policies, along with the steps to configure and edit them. For more information, refer to the tabs below to determine your requirements.
Traceable, by default, provides you with some policies on the Issue Policies page. These policies are listed under the Traceable Vulnerabilities, Traceable Compliance, PCI DSS, and AI APIs tabs. Traceable recommends enabling these policies to help identify the most common PCI DSS, OWASP Top 10 for API and LLM, and MCP violations and data across API endpoints.
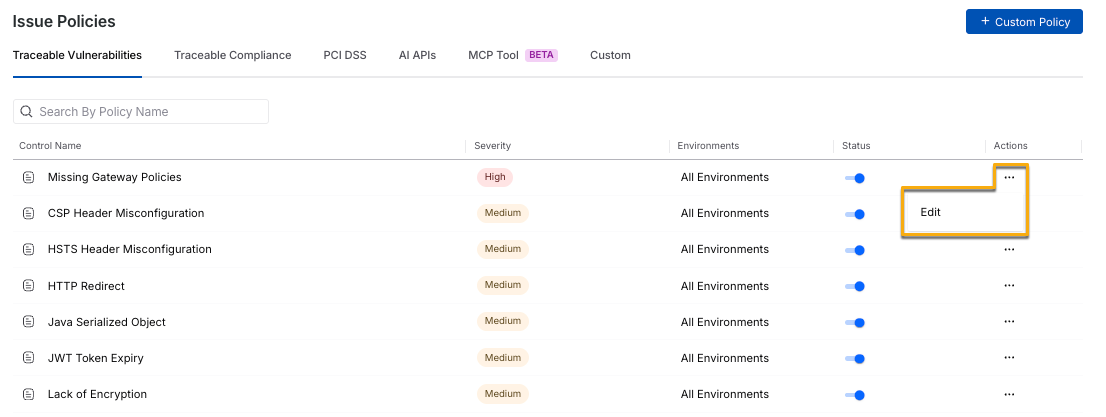
Traceable also allows you to edit a policy configuration according to your requirements. To edit a configuration, click the Ellipse (![]() ) icon corresponding to a policy.
) icon corresponding to a policy.
Edit Policy
To edit a policy configuration, click the Ellipse (![]() ) icon → Edit corresponding to a policy, and complete the following steps:
) icon → Edit corresponding to a policy, and complete the following steps:
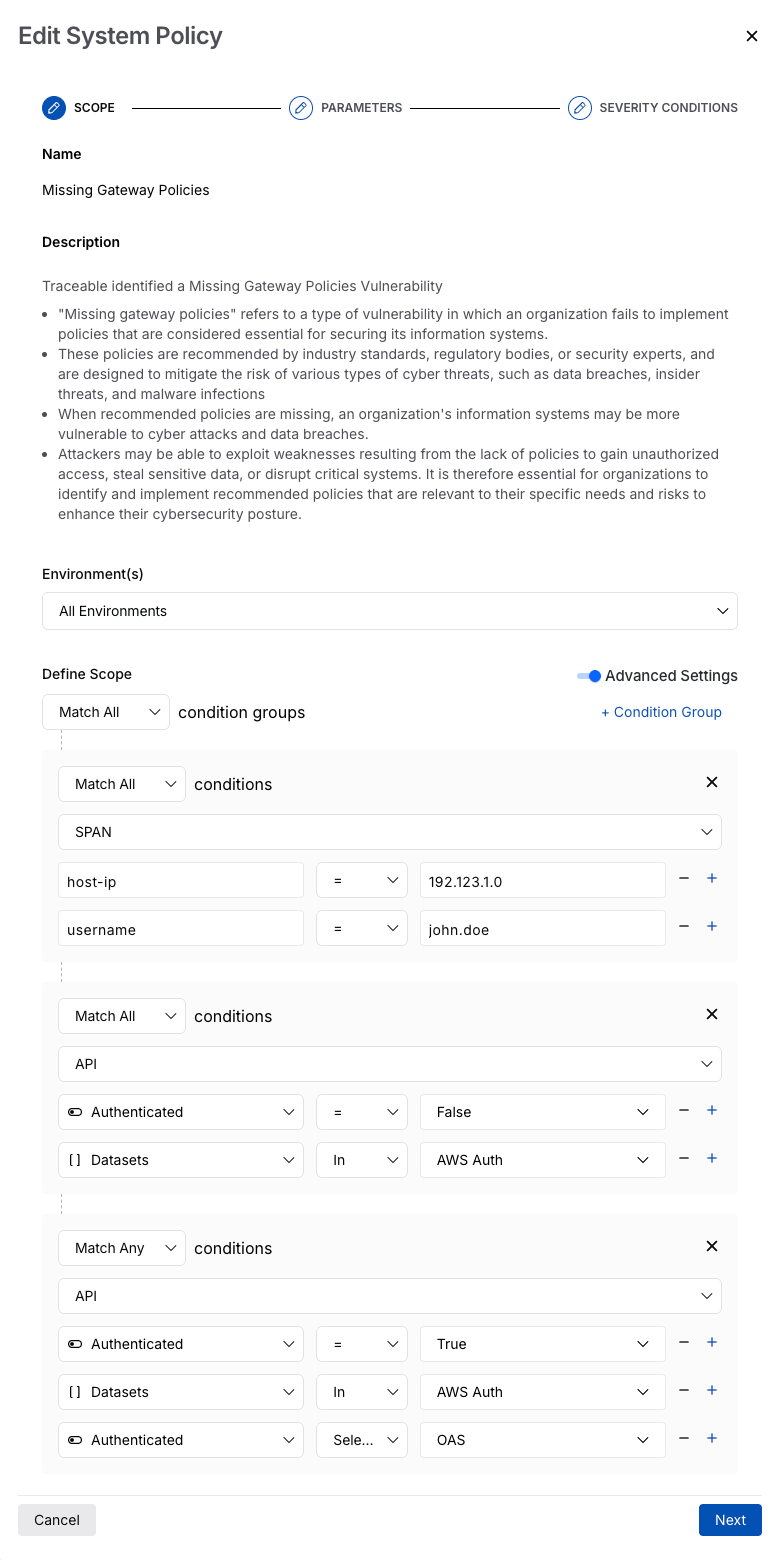
Step 1 — Scope
Edit Issue Policies
Select the Environment(s) where you wish to apply the policy, for example, All Environments.
Enable the Advanced Settings toggle if you wish to use Span attributes for configuring the conditions below.
Note
This toggle is only available for policies under the Traceable Vulnerabilities tab.
Define the policy scope by configuring the condition groups. You can add one or more condition groups according to your requirements:
Select how Traceable should match the condition groups:
Match All — Traceable performs an AND operation between the condition groups, if selected.
Match Any — Traceable performs an OR operation between the condition groups, if selected.
Click + Condition Group and complete the following steps:
Select how Traceable should match the conditions: Match All or Match Any.
Select the type of attributes you wish to filter below, for example, SPAN.
Note
This step is only applicable for policies under the Traceable Vulnerabilities tab.
Click + Add Condition.
Select or specify the Attribute for which you wish to apply the condition.
Select the Operator corresponding to the attribute.
Select or specify the Value(s) corresponding to the attribute and operator.
(Optional) Click + corresponding to a condition to add more according to your requirements.
(Optional) Repeat the above step to add more condition groups.
Click Next.
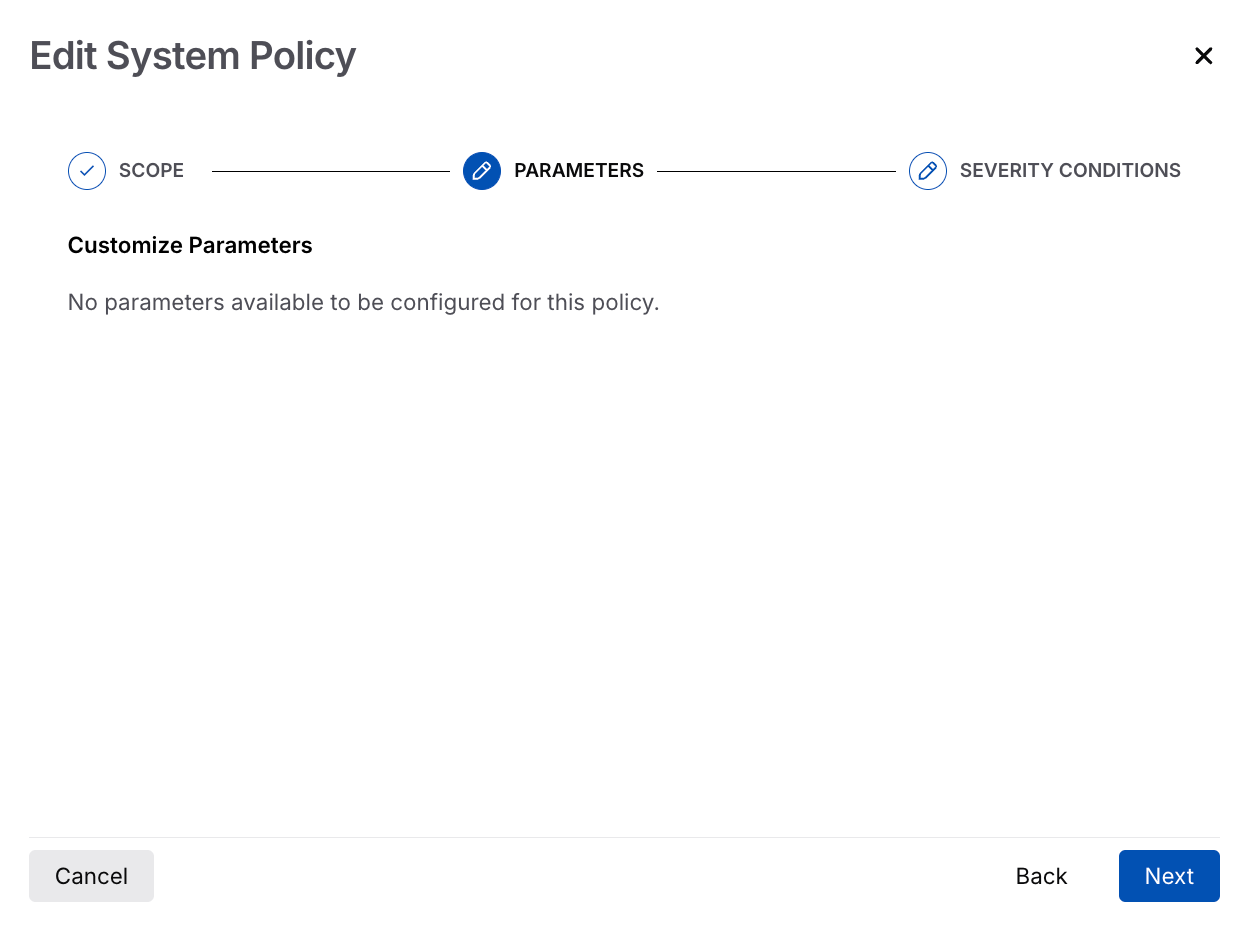
Step 2 — Parameters
Edit Policy Parameters
Select the Attribute, and its corresponding Operator, and specify the Value based on which Traceable should detect issues for the policy. Further, click Next.
Note
The availability of the configurations in this step depends on the policy you are editing.
Step 3 — Severity Conditions
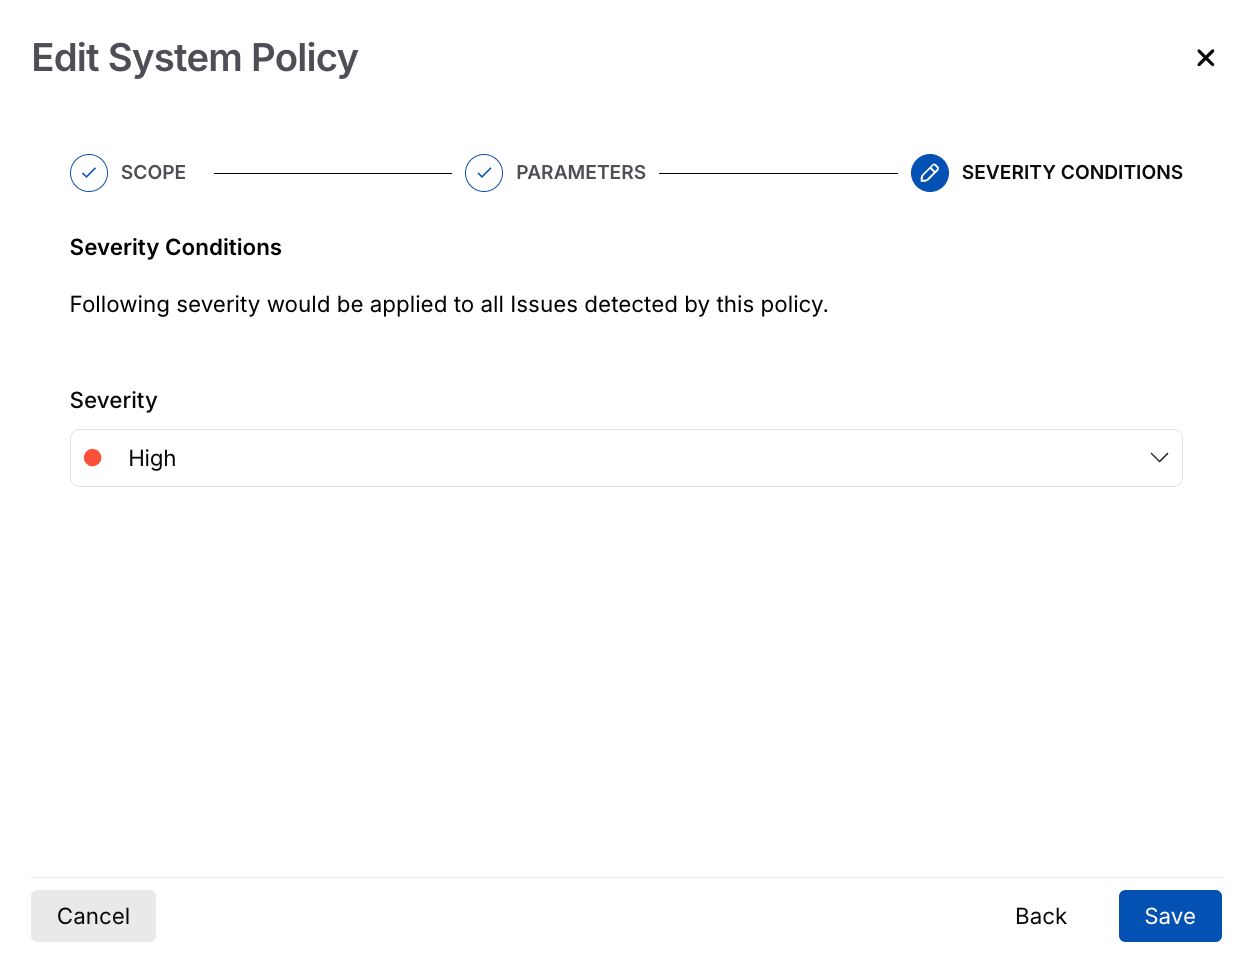
Edit Policy Severity
Select the Severity that Traceable should assign to the issues detected using the policy, and click Save.
You can create custom policies by selecting the attributes according your requirements. Traceable uses these policies, identifies their corresponding violations, and lists them on the Issues page for you to take action.
Note
Each custom policy should have a unique name.
Custom policies may take up to 24 hours to generate Issues post-creation.
Creating a Custom Policy
To create a custom policy, in the page’s top right corner, click + Custom Policy, and complete the following steps:
Step 1 — Scope
Specify the policy Name. For example, the API endpoint contains critical data.
Traceable uses this policy name as the Issue Name on the Issues page.Note
You cannot edit the name post-policy creation.
Specify a Description for the policy.
From the Category drop-down list, select the category to which the detected violation should belong or specify a category name and click on Create new Category “<Category Name>”, for example, Production.
From the Environment drop-down list, select the environment(s) in which the policy should apply. By default, Traceable selects All Environments.
Define the policy Scope by configuring the condition groups. You can add one or more condition groups according to your requirements:
Select how Traceable should match the condition groups:
Match All — Traceable performs an AND operation between the condition groups if selected.
Match Any — Traceable performs an OR operation between the condition groups if selected.
Click + Condition Group and complete the following steps:
Select how Traceable should match the conditions: Match All or Match Any.
Click + Add Condition.
Select the Attribute for which you wish to apply the condition.
Select the Operator corresponding to the attribute.
Select the Value(s) corresponding to the attribute and operator.
(Optional) Click + corresponding to a condition to add more according to your requirements.
(Optional) Repeat the above step to add more condition groups.
Click Next.
Step 2 — Detection Conditions
In the API Attribute section, click + Add condition, then select the attribute based on your requirements. For example, Endpoint Name is equal to (=) GET /userinfo/json.
In the Vulnerability Attribute section, click + Add condition and select the attribute according to your requirements. For example, Vulnerability Status is (IN) either Open or Under review.
In the Datatypes section, click + Add condition and select the attributes according to your requirements. For example, Request & Response of the API endpoint contains either (Contains any of) the Credit Card PIN, username, and password data types.
In the Datasets section, click + Add condition and select the attributes according to your requirements. For example, the Response of the API endpoint does not contain either (Contains any of) the Generic Personal Info or PII UK data sets.
In the Data Sensitivity section, click + Add condition and select the attributes according to your requirements. For example, the Request data for an API endpoint is highly sensitive (High).
Click Next.
Note
Traceable carries out an AND operation between the conditions defined above.
Step 3 — Severity Conditions
Select the Severity that Traceable should assign to the issues detected using the policy, and click Submit.
Custom Policy Actions
You can perform the following actions on the policies by clicking on the Ellipse (![]() ) icon corresponding to a row:
) icon corresponding to a row:
Edit a policy to add or remove any attributes according to your requirements.
Clone and edit a policy to add or remove any attributes according to your requirements. While cloning a policy, you can also select if you wish to edit the cloned policy directly. Upon selection, Traceable automatically opens the policy configuration for modifications.
Delete a policy.
Note
A deleted policy cannot be restored.