Traceable allows you to configure and install runners in AWS ECS (Elastic Container Service) using CloudFormation. This streamlines the configuration process by allowing you to leverage AWS’s infrastructure-as-code capabilities, making it easy to set up and configure runners in ECS environments. By using CloudFormation templates, you can automate the installation and management of runners, ensuring seamless execution of API security tests across distributed AWS services. This simplifies integrating API Security Testing into cloud-native applications hosted on AWS.
Before you begin
Make a note of the following before proceeding with the runner installation:
AWS account — Ensure you have an active AWS account.
IAM permissions — Ensure you have the necessary IAM permissions to create and manage CloudFormation stacks, ECS services, and tasks. The necessary permissions include:
cloudFormation: CreateStackcloudFormation: UpdateStackcloudFormation: DeleteStackecs:*
AWS cluster — Ensure you have an existing cluster where you wish to deploy the runner.
VPC, Subnets, Security Groups — Ensure you have existing VPC, subnets, and security groups configured in your AWS account. You can use them to deploy the ECS service.
CloudFormation template — Ensure you have access to the ECS CloudFormation template file (
traceable-ast-runner.yaml).Note
You can download the template from Traceable’s download site.
Install Runner through AWS Management Console (UI)
Complete the following steps to install the Traceable runner using the AWS management console:
Open your web browser and log in to the AWS management console.
In the console, navigate to the CloudFormation service.
Click Create Stack and then choose With new resources (standard).
.png)
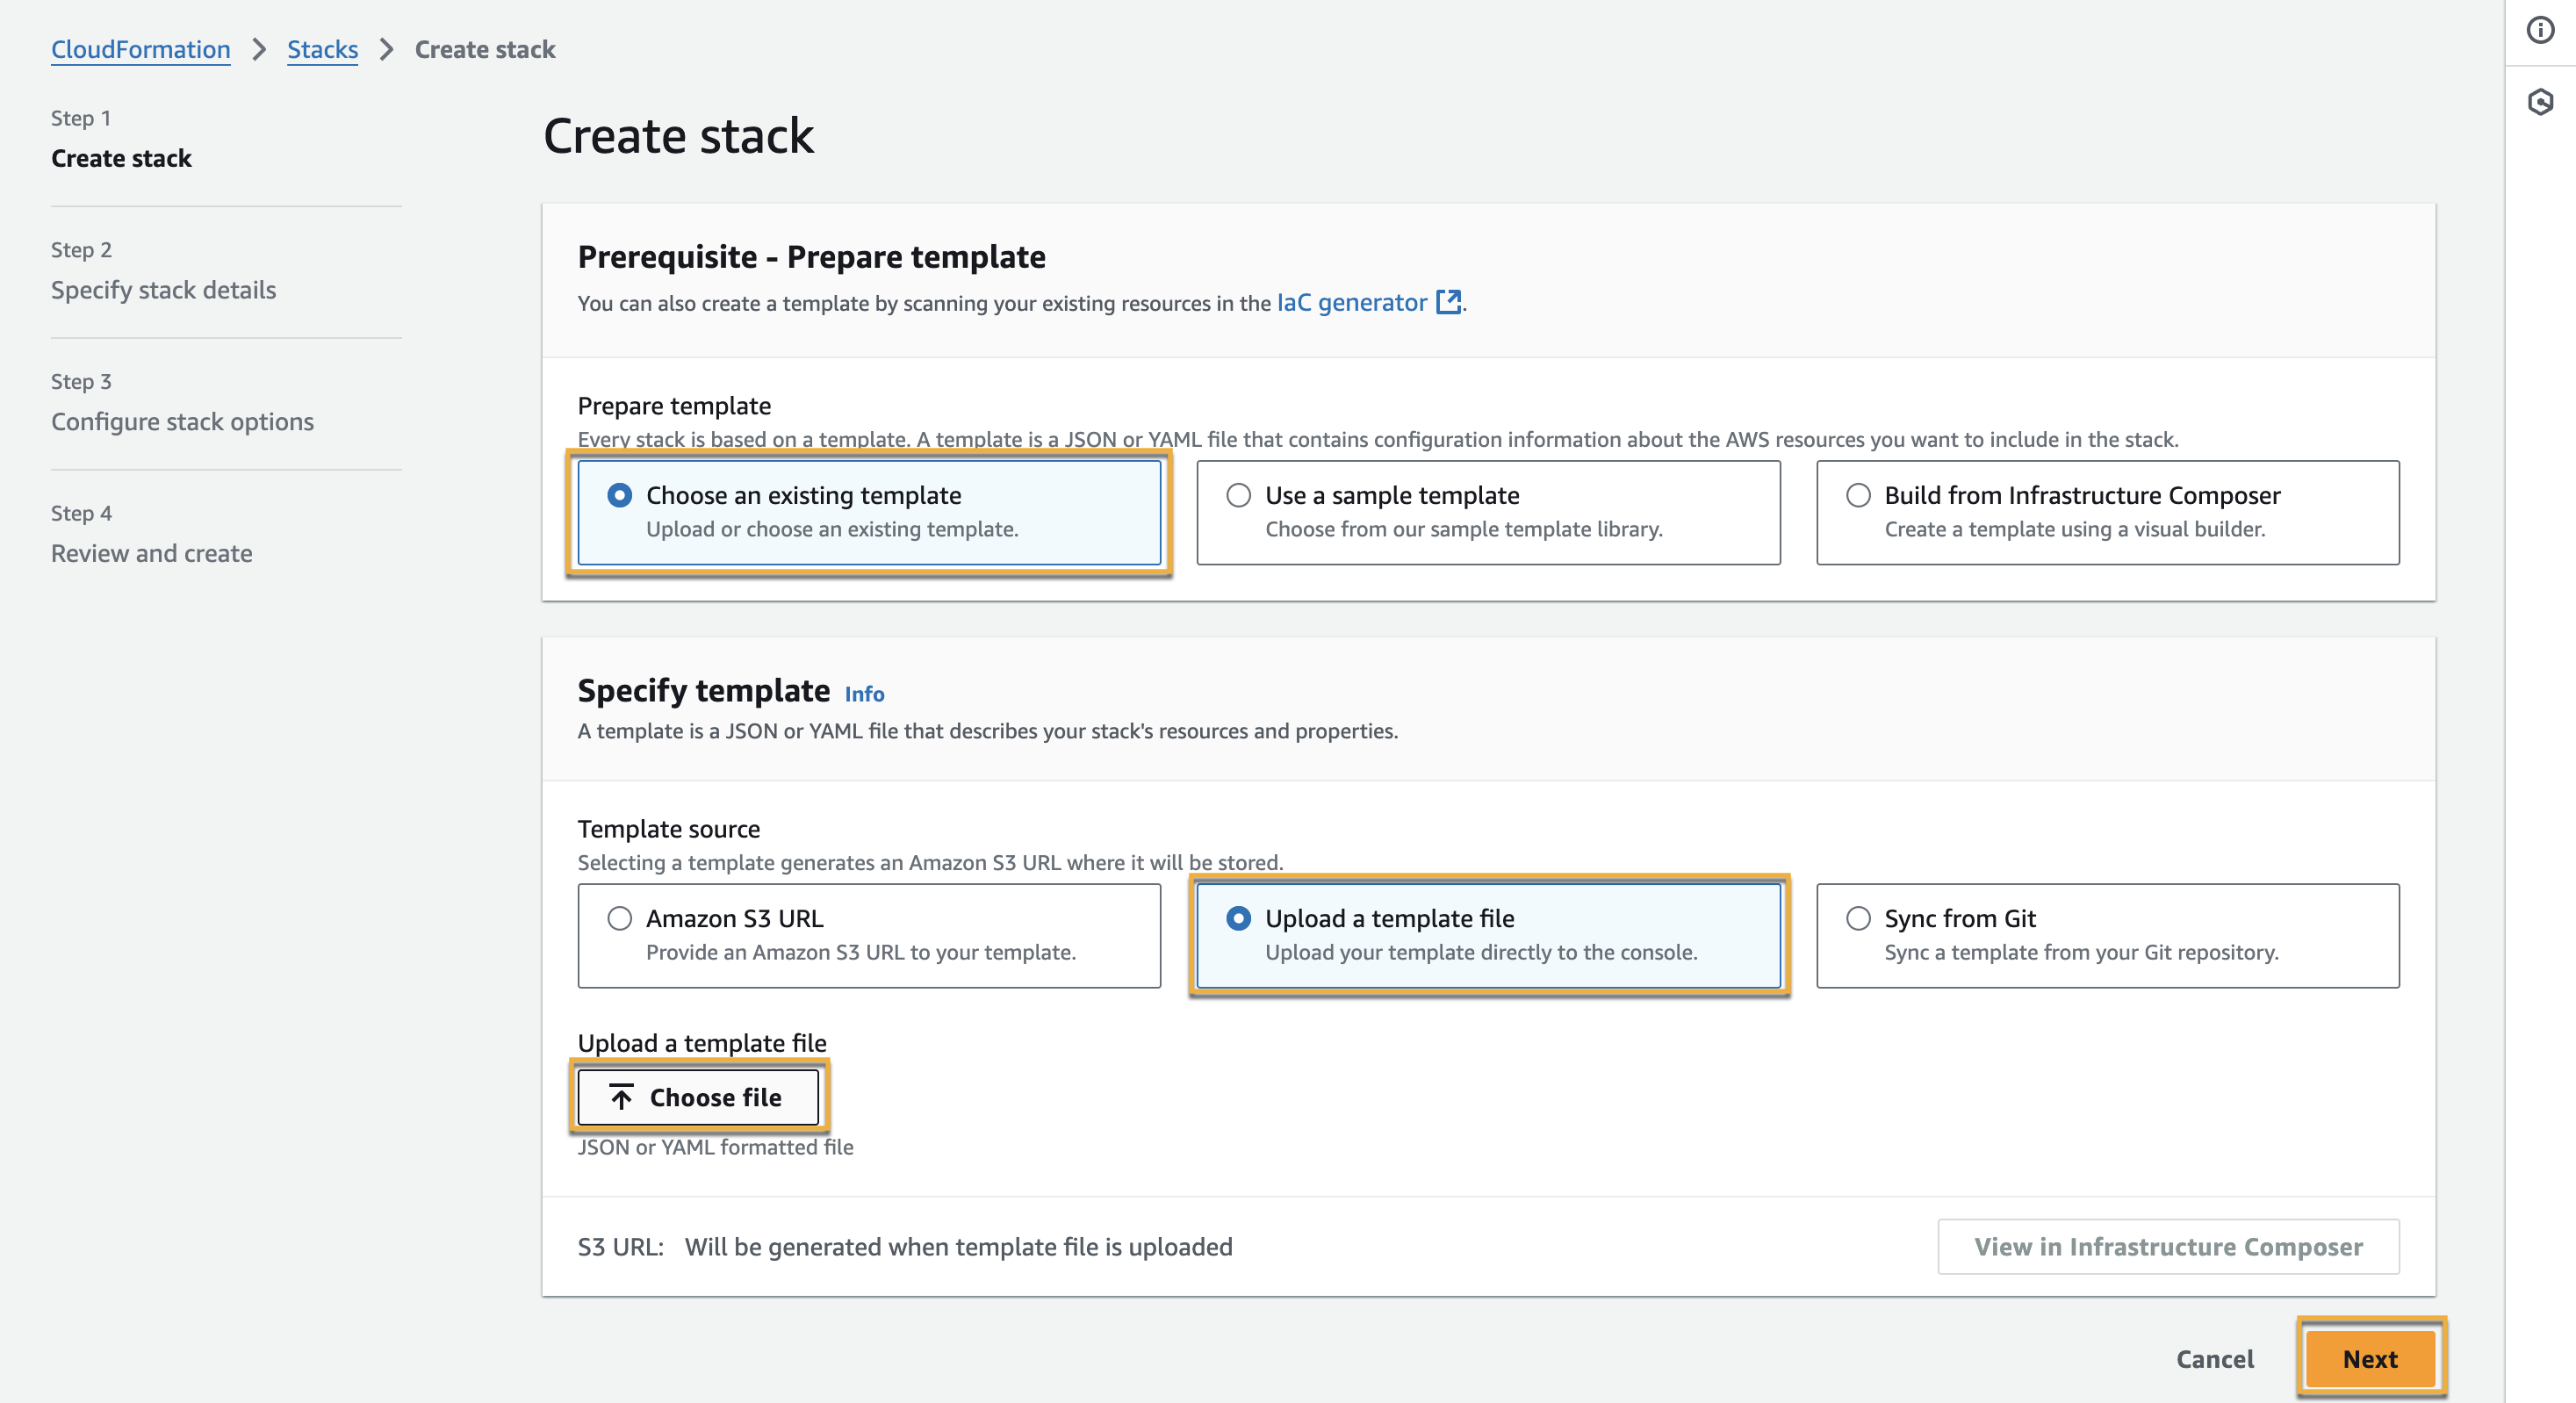
Click Choose an existing template, upload the CloudFormation template (
traceable-ast-runner.yaml) that you obtained from the Traceable support, and click Next.
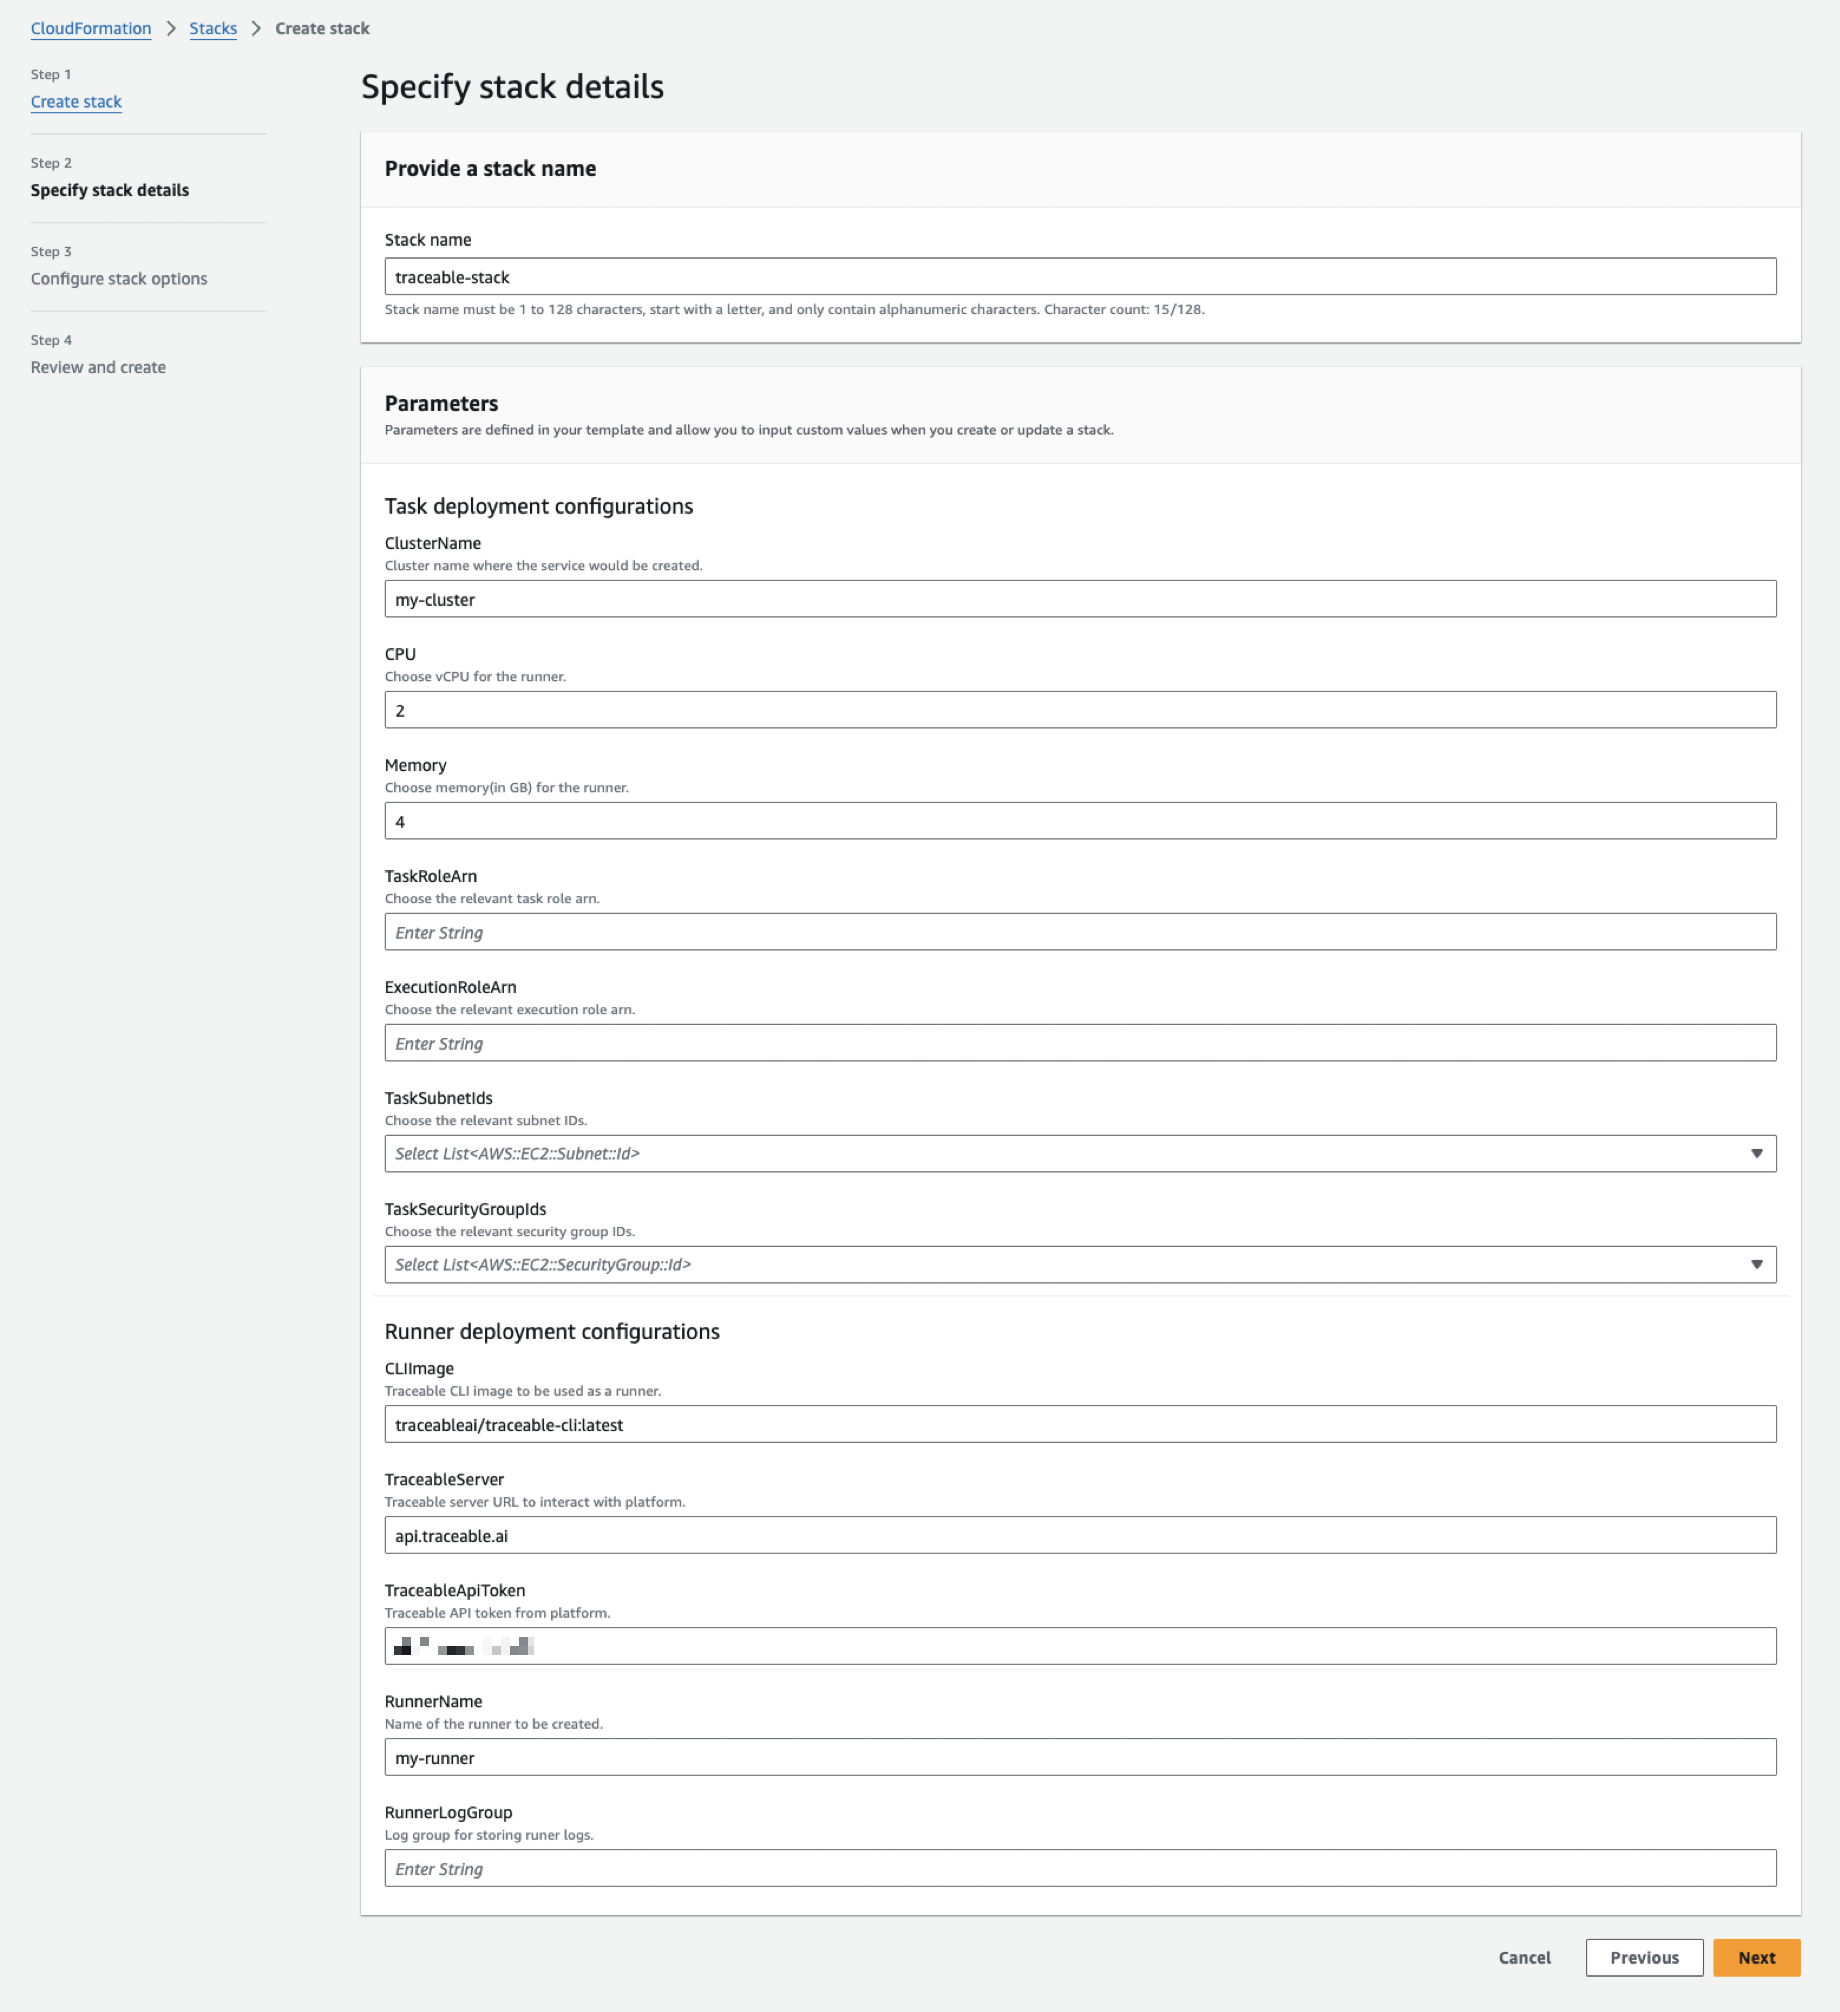
Specify the stack name, for example, TraceableECSStack, and the necessary parameters according to your requirements. Refer to the table below for guidance on the various fields:

Note
The stack name may be prefixed/suffixed in some of the resources that are created.
Variables
Description
Default Value
ClusterNameThe cluster name where the service is created
-
CPUThe number of vCPU for the runner
2
MemoryThe memory (in GB) for the runner
4
TaskRoleArnThe relevant task role ARN
-
ExecutionRoleArnThe relevant execution role ARN
-
TaskSubnetIdsThe relevant subnet IDs
-
TaskSecurityGroupIdsThe relevant security group IDs
-
CLIImageTraceable CLI image to use as a runner
traceableai/traceable-cli:v2TraceableServerTraceable server URL to interact with the platform
api.traceable.aiTraceableApiTokenThe Traceable platform API token. Navigate to Your Account → My Preferences → API Tokens → Generate API Token to generate a token.
-
RunnerNameThe runner name
-
RunerLogGroupLog group for storing runner logs. These logs are visible post-stack creation.
-
Click Next.
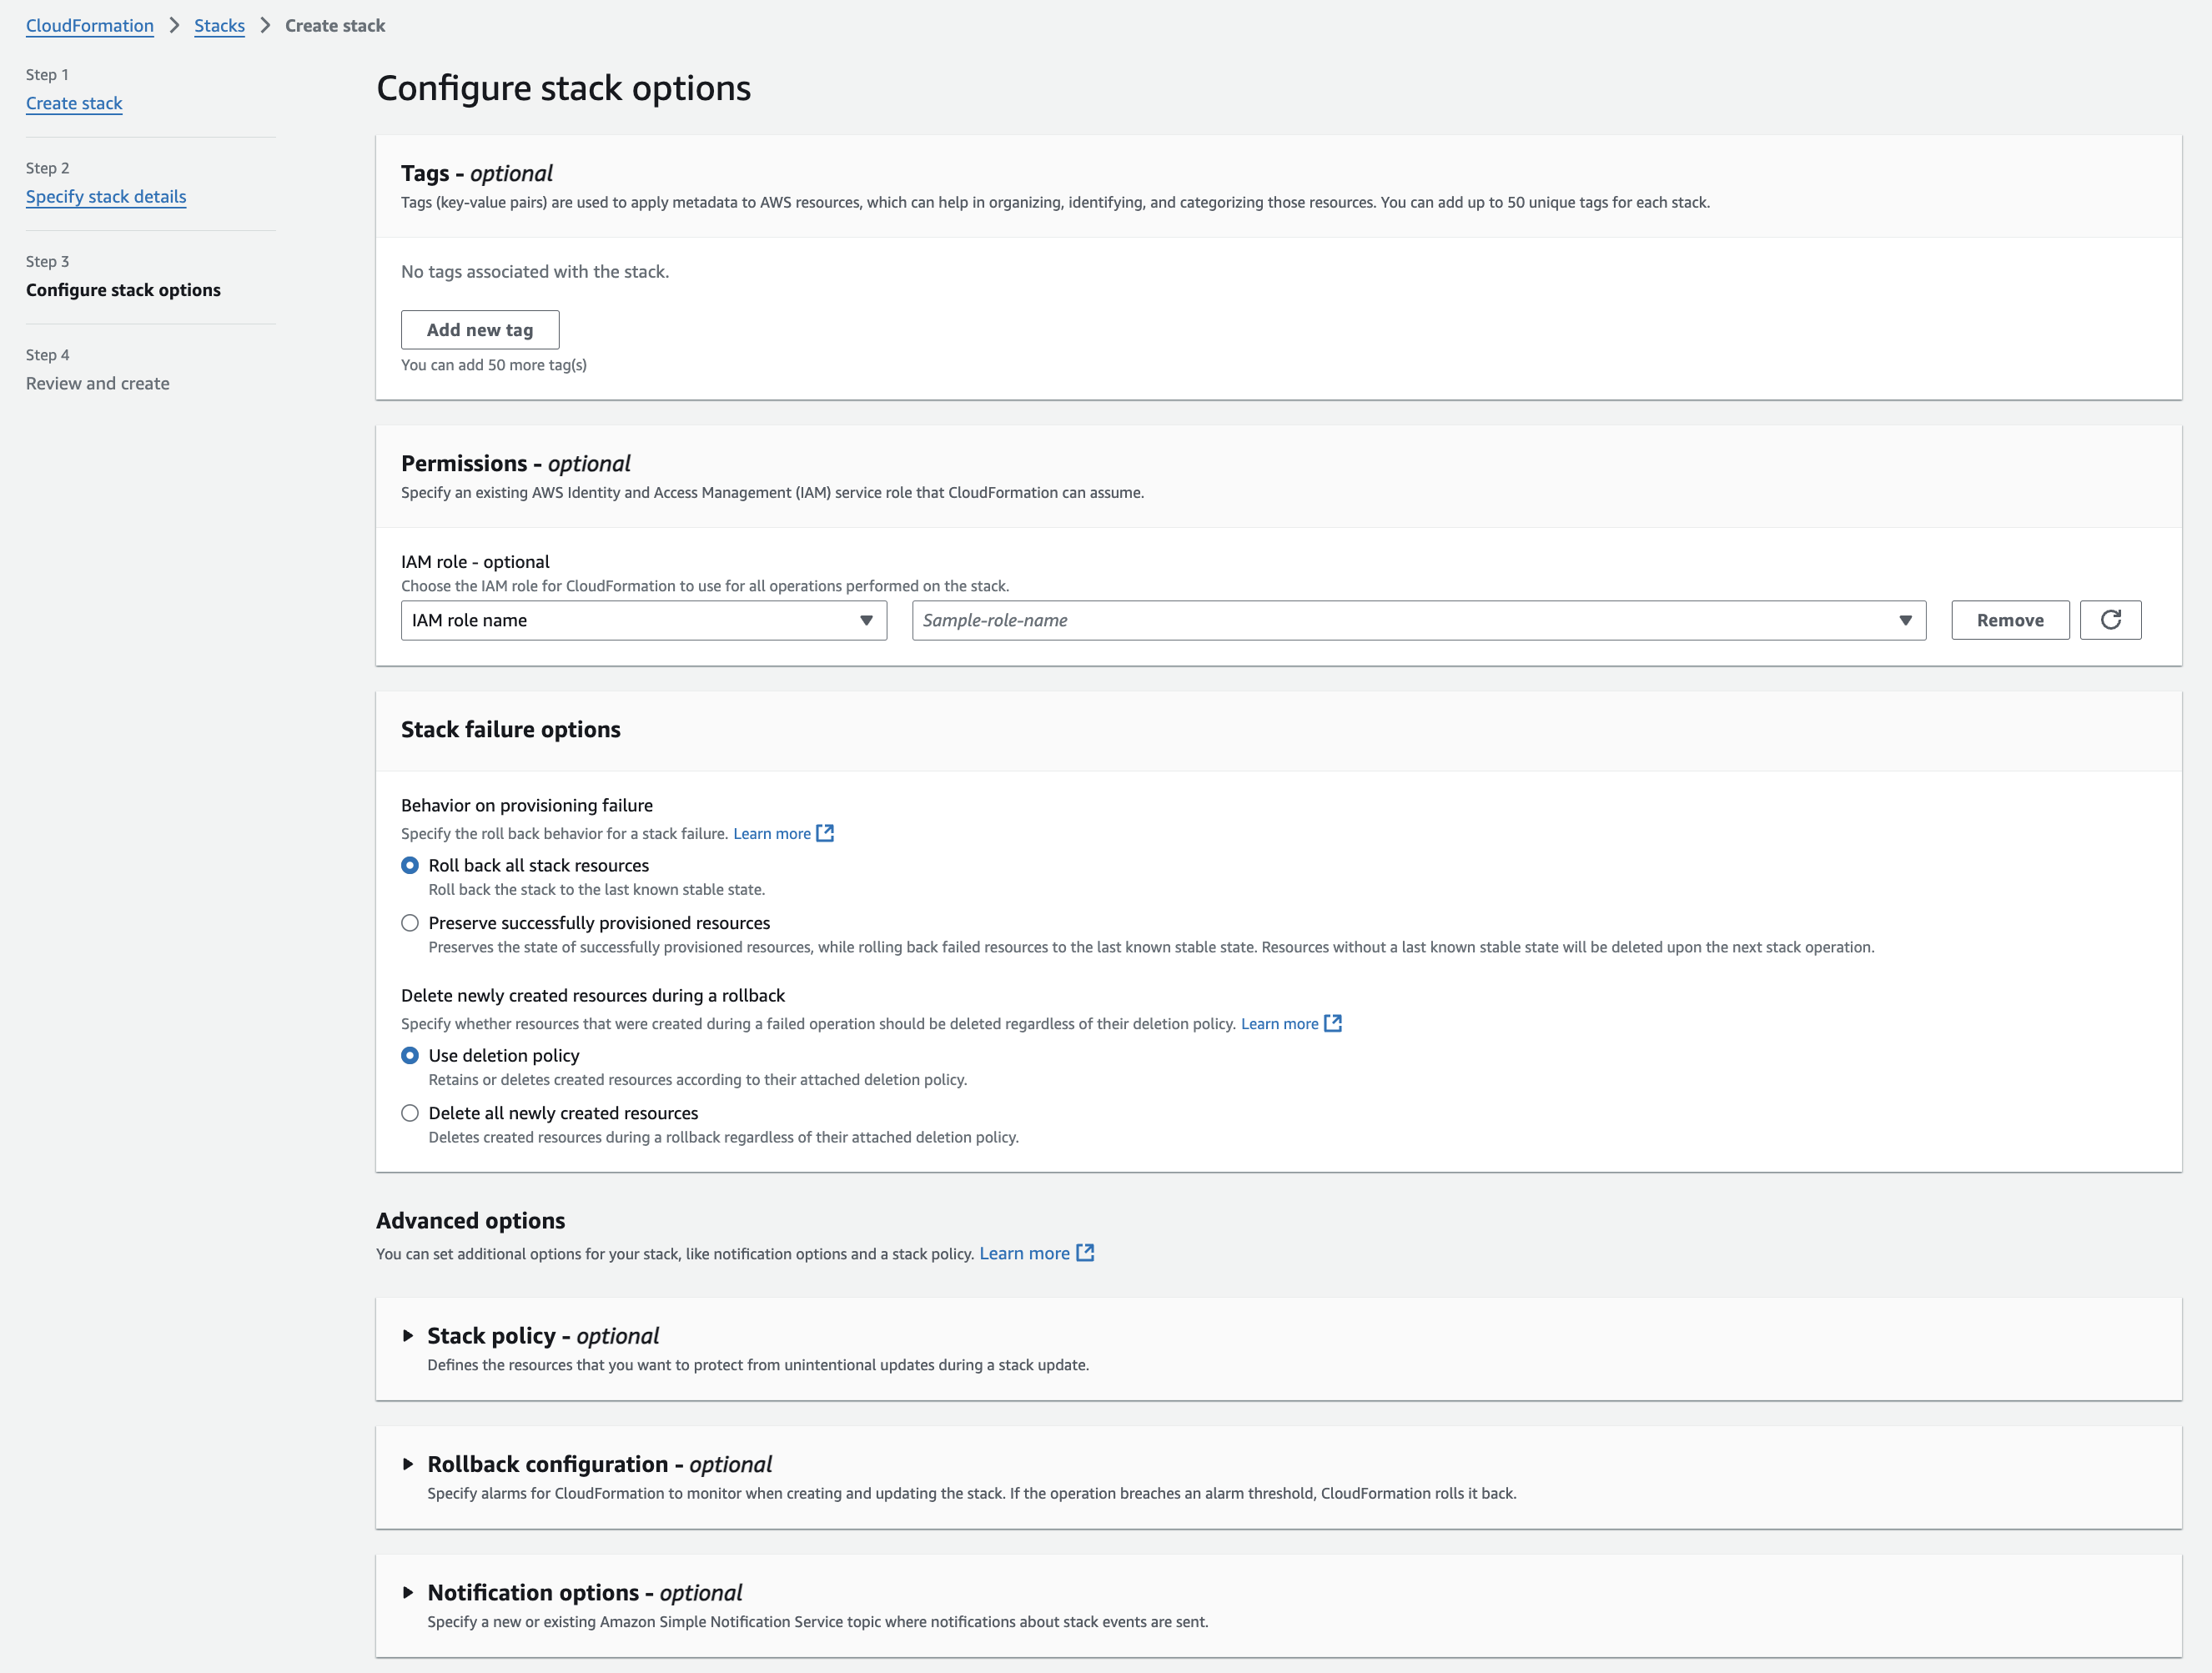
Configure additional stack options such as tags, permissions, advanced options, etc., according to your requirements, and click Next.

Review the stack details and parameters, and acknowledge the creation of IAM resources, if applicable, by selecting the checkbox at the bottom. Then, click Next.
CloudFormation starts creating the stack. You can monitor the progress in the Events tab on the Stack Details page. The stack creation may take several minutes.
.png)
Once the stack is created, verify the created resources by checking the ECS service, task definition, and runner logs.
.png)